I had to return to the left taillight again. I grabbed the housing off of that same 88 GW at the PAP in San Bernardino. I think I paid two bucks for it.
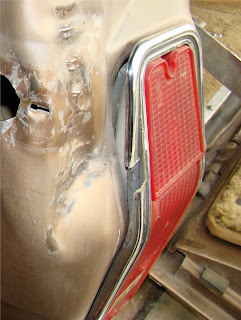
Remember what I started with (before the sidemarker fix), including the body damage. It's actually somewhat surprising that the taillight housing wasn't more damaged that this. Just that little one inch chunk missing. But my other concern, now that I had replaced the sidemarker light, I wanted to get the entire driver's side rear more waterproof than it was.
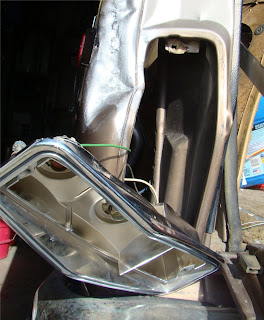
I had to pull the interior left panel in the cargo compartment to get at the two nuts holding the housing in place. Since the donor rig was already gutted back there, it was easy to see how it was attached, which made this job much easier on my rig.
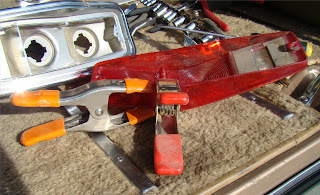
The red taillight lens was slightly damaged, as well, so I took some time to get it glued up with some silicon adhesive, guaranteed to remain intact even when exposed to moisture and heat.
The taillight lens and housing back together, wired up, and ready to go. Before I put the lens in, however, I put some clear silicon in the housing grooves where the lens mates up. Again, water tight is the phrase of the day.
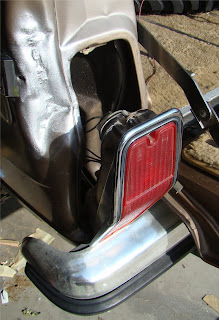
The real challenge was plugging the gap between the housing and the body panel since they were not and never would be, um, shall we say symmetrical. First, I cut up the rubber sole on an old running shoe. I shaped it like an L, as if it would fit between the top edge and outside edge of the taillight housing and the body panel. No go. Then I found some spare insulator tubing that I had leftover from when I installed my house's water heater a few years back (I get rid of very little until it truly resembles garbage). I flattened it against the outside and top edges, pushed the housing into the body panel, and tightened down the nuts. It's a great fit.
