I wanted a bit more clearance for my 32" BFG's (trying to squeeze as much tire in there as I can without rubbing or going to a 6" lift and getting tipsy). The easiest way, without making the Jeep even more top heavy, is to install a body lift kit. At the same time, I wanted to pop in some new polyurethane body bushings to absorb road vibrations and quiet the cabin a titch. All of this will get the body an inch or more up in the air and above the tires while keeping the weight (engine, tranny, frame rails) where they'd be for a four inch lift.
First I had to pop off the bumpers so that the front and rear sheet metal doesn't get caught on the upper lip of the bumpers themselves.


Here's a peek at the original condition of the body bushings before removal and replacement.

Side by side, the new and old bushings plus the "hockey puck" lifts.

Once the original bolts are taken off (no mean feat if you look at the rust on the sample in the pic above), it's a matter of jacking up the body off the frame. I used my Hi-Lift and some scrap oak for this. You need just about a half inch more clearance than you think to get the new body bushing's center metal tube in the alignment hole in the body itself.

Several of the holes needed to be expanded just a bit to allow the new bushings from BJ's to fit tightly. The only decent tool to use was a Dremel with a grinding stone attachment.

A shot of a new mount and body lift puck in place.
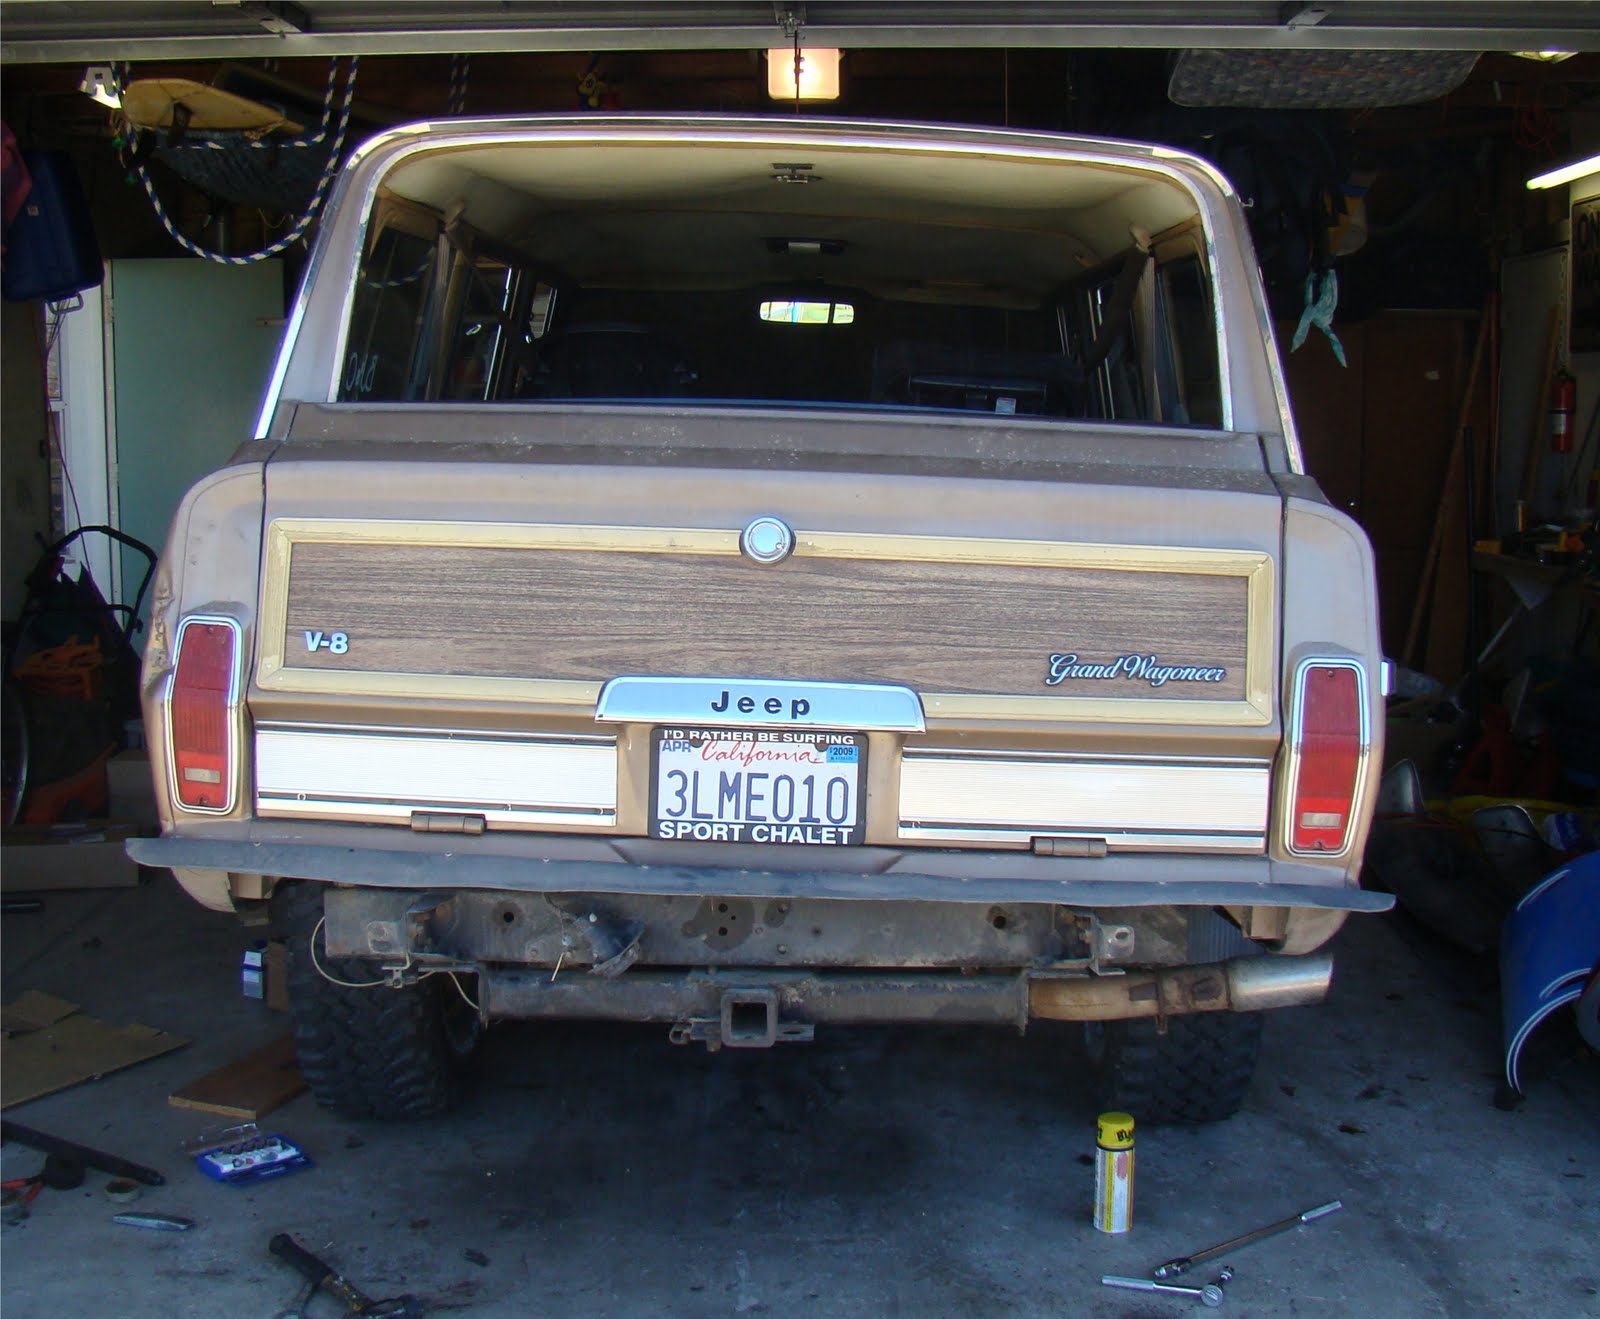
Here's a backside shot of the Jeep with the left bushings and lift pucks in and the right still on the old, crusty stock bushings.
Side by side comparison of the passenger's side rear fender clearance (L) and the driver's rear fender clearance with the new lift pucks and bushings (R). Obviously I've gained more than just the 1" over stock that the body lift was expected to give, thanks of course to the new, firm poly bushings.


Unfortunately, I don't have any pics of the completed body lift on the rig. Oh well.