 I was working around in the engine bay the other day and saw that the wiring for the distributor was cobbled together like so many other things on the Jeep. The PO must've cut the wires and then simply spliced them back together with electrical tape. No wiring nuts, no heat-shrink tubing. Nothing. So I pulled apart the distributor and removed the distributor ignition pickup (at right). You can see the electrical tape and the relatively poor condition of a crucial part of the ignition system, so I bought a new one and threw it on.
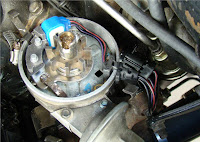
Here's the new one in the distributor. The harness clip is fresh, the metal isn't corroded, the wiring is solid, all in all, much improved and a rather simple fix. I like these kinds of projects, especially because I learn a bit more about the device I'm working on, as well as the system of which it is a part.
Quick confession: I lost one of the pins that locks the rotor wheel in the center of the distributor in place, so I replaced it with the pin from a wristwatch band. Works perfectly.

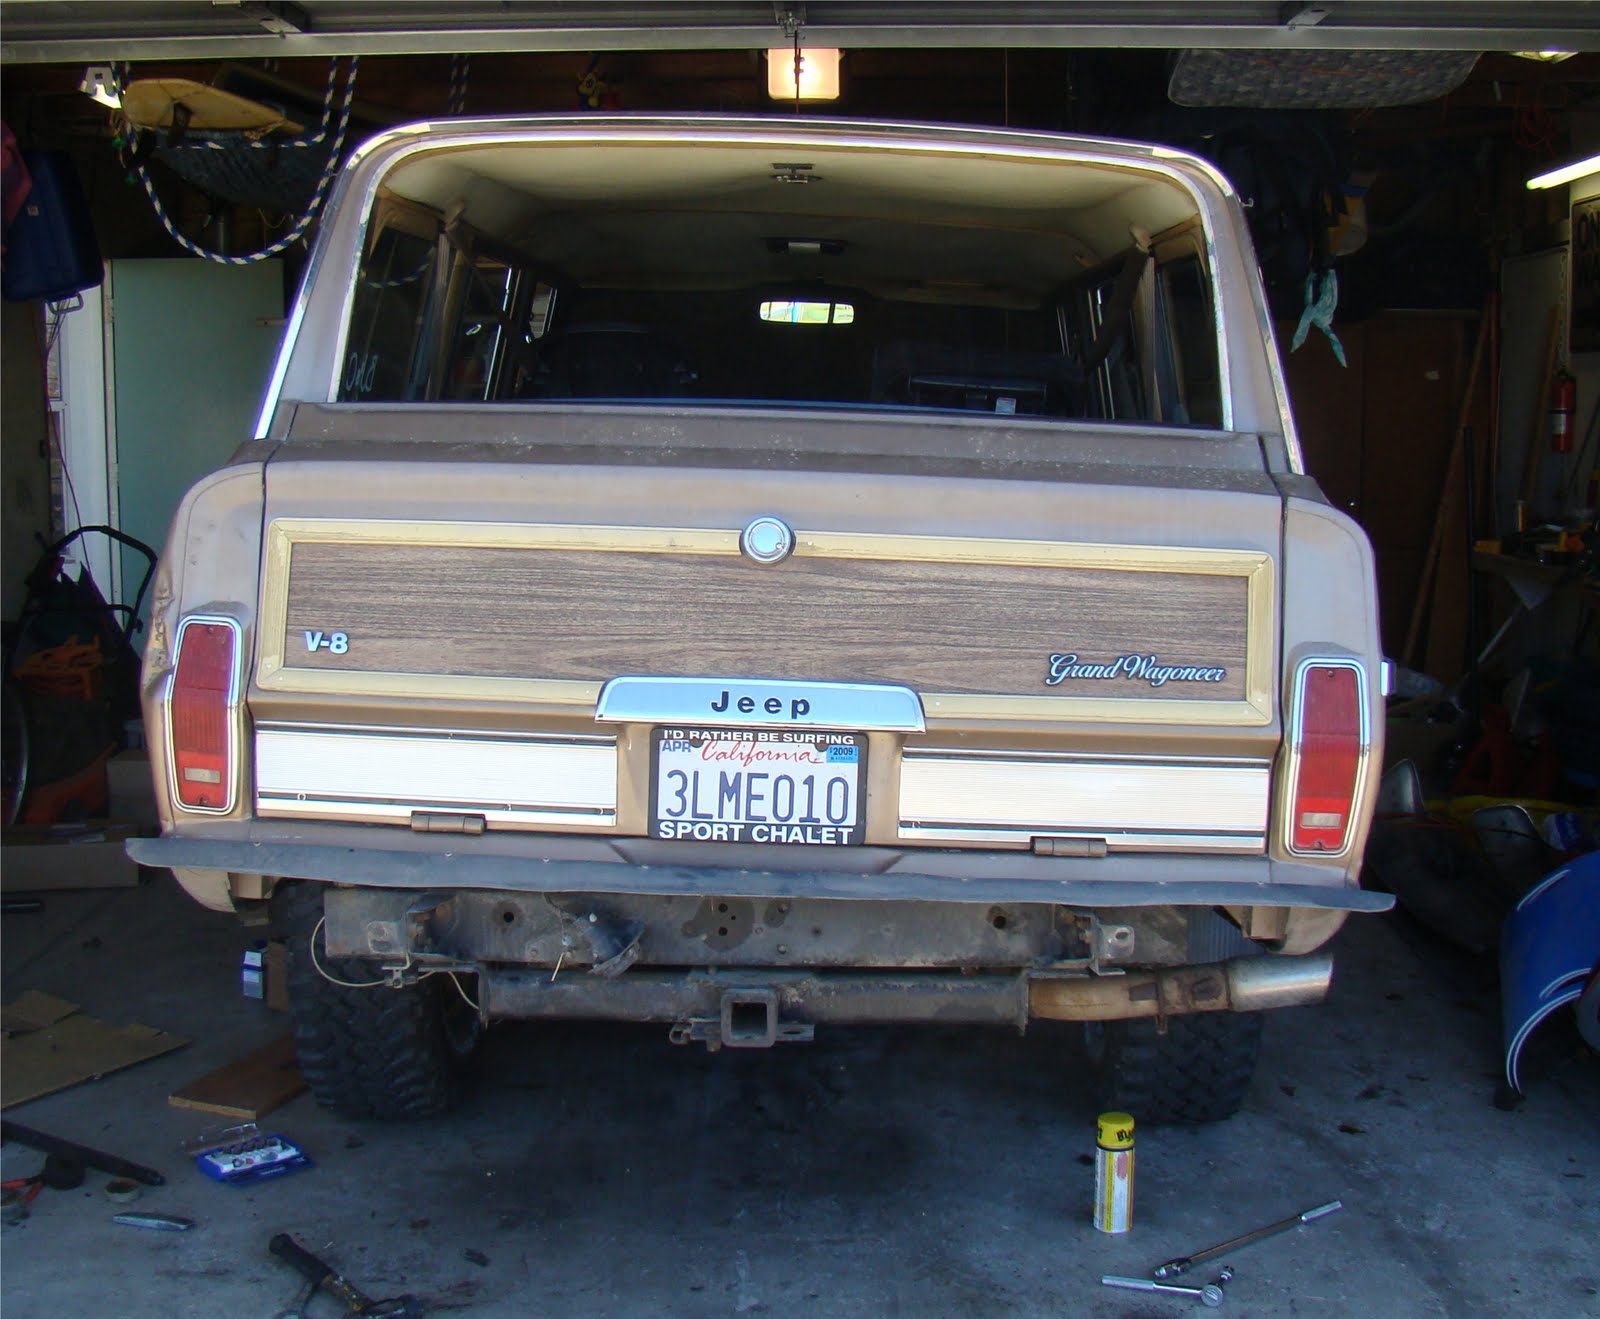
Driving it to work the other day, I heard a lovely backfire--my first, believe it or not. A few blocks later, she died on me, so I coasted her to a nice spot in front of an insurance place, locked her up, and made for the cell phone. My loving and patient wife got me to work on time. I tried a few different tricks to get it going again, but to no avail. Having AAA got the rig home the next day. I did a little reading as it sat out front, exploring possible causes of a backfire. With no noticeable damage done to the exhaust system, I figured that the backfire blew out the power valve in the carb, a common occurrence.
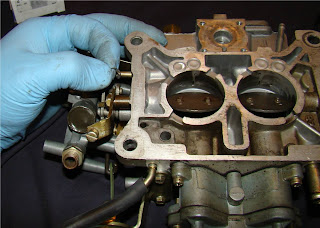
I was in the mood for a new and interesting experience, so I got up the gumption to rebuild my carb, a Motorcraft 2150. I bought a rebuild kit from NAPA that had the power valve plus all the other goodies that I wouldn't mind replacing on the 2150.

First, I yanked the carb, but with a bit of anal retentiveness. This thing has hoses all over the place, and I didn't want to get lost when I put it back on, so I labeled every hose (and throttle linkage) with a Sharpie, blue tape, and a letter. Then I took some pics while they were still on the carb so that I knew where to put them later.
I'm not about to offer a "how to" article on rebuilding a 2150. The kit took care of that, as did some helpful threads on IFSJA. Here are few pics of the guts just to give you a feel for what this thing looks like inside.


