Thursday, June 13, 2013

Painting, Day 1 - Bronze

At last, with all the body prep done, I can get to the topcoat.  First, yes, that is my driveway.  Not a dust free environment, for sure, but I'm going on the cheap with this one.
Taped off and ready.
This is the first coat done.
I wasn't worried about getting high build-up on the first pass.  It's more of a starter coat so that I can learn how the spray gun works and what tweaks my technique needs.  In the pic below, you'll note a few runs.  I was able to get them to go away.
Multiple coats on it now.
A bit dark, but it's giving you a sense of what it will be.
A better shot.  (That red primer on the bottom of the doors will be coated with bedliner later.)

To carry the black bedliner into other components was always the plan.  I want to have the bumpers protected, as well as the aluminum and plastic grill.  But first they need to be thoroughly cleaned.
Grill dismantled.
I went with Herculiner, which got good reviews and wasn't terribly expensive.
Believe it or not, all those jacaranda flowers weren't an issue in my "drying" bay (i.e., the kids' swing set).
The cowl vent and headlight surrounds were next.
This is just stamped aluminum, and it was all scratched up.  I didn't want a new paint job with a battered grill, and I like the blacked out look.
The plastic center insert was also a bit rough and faded.

Monday, June 10, 2013

Peeling the "wood" off

I had to get rid of all of the wood grain.  First step was to remove the rivets holding on the outer trim.
There are a lot of them.
In the process, I removed all the trim pieces and badges.
The crunched left corner is going to need some addressing.  I've stopped the rust from spreading, but that's about it.
A closeup of the rivets.  I just drilled them out.  At least half end up stuck on the bit itself, which was a convenience in the removal process.
Once the rivets were gone, I simply peeled off what I could however I could.
Once I removed the trim, I popped in a rivet to plug the hole.
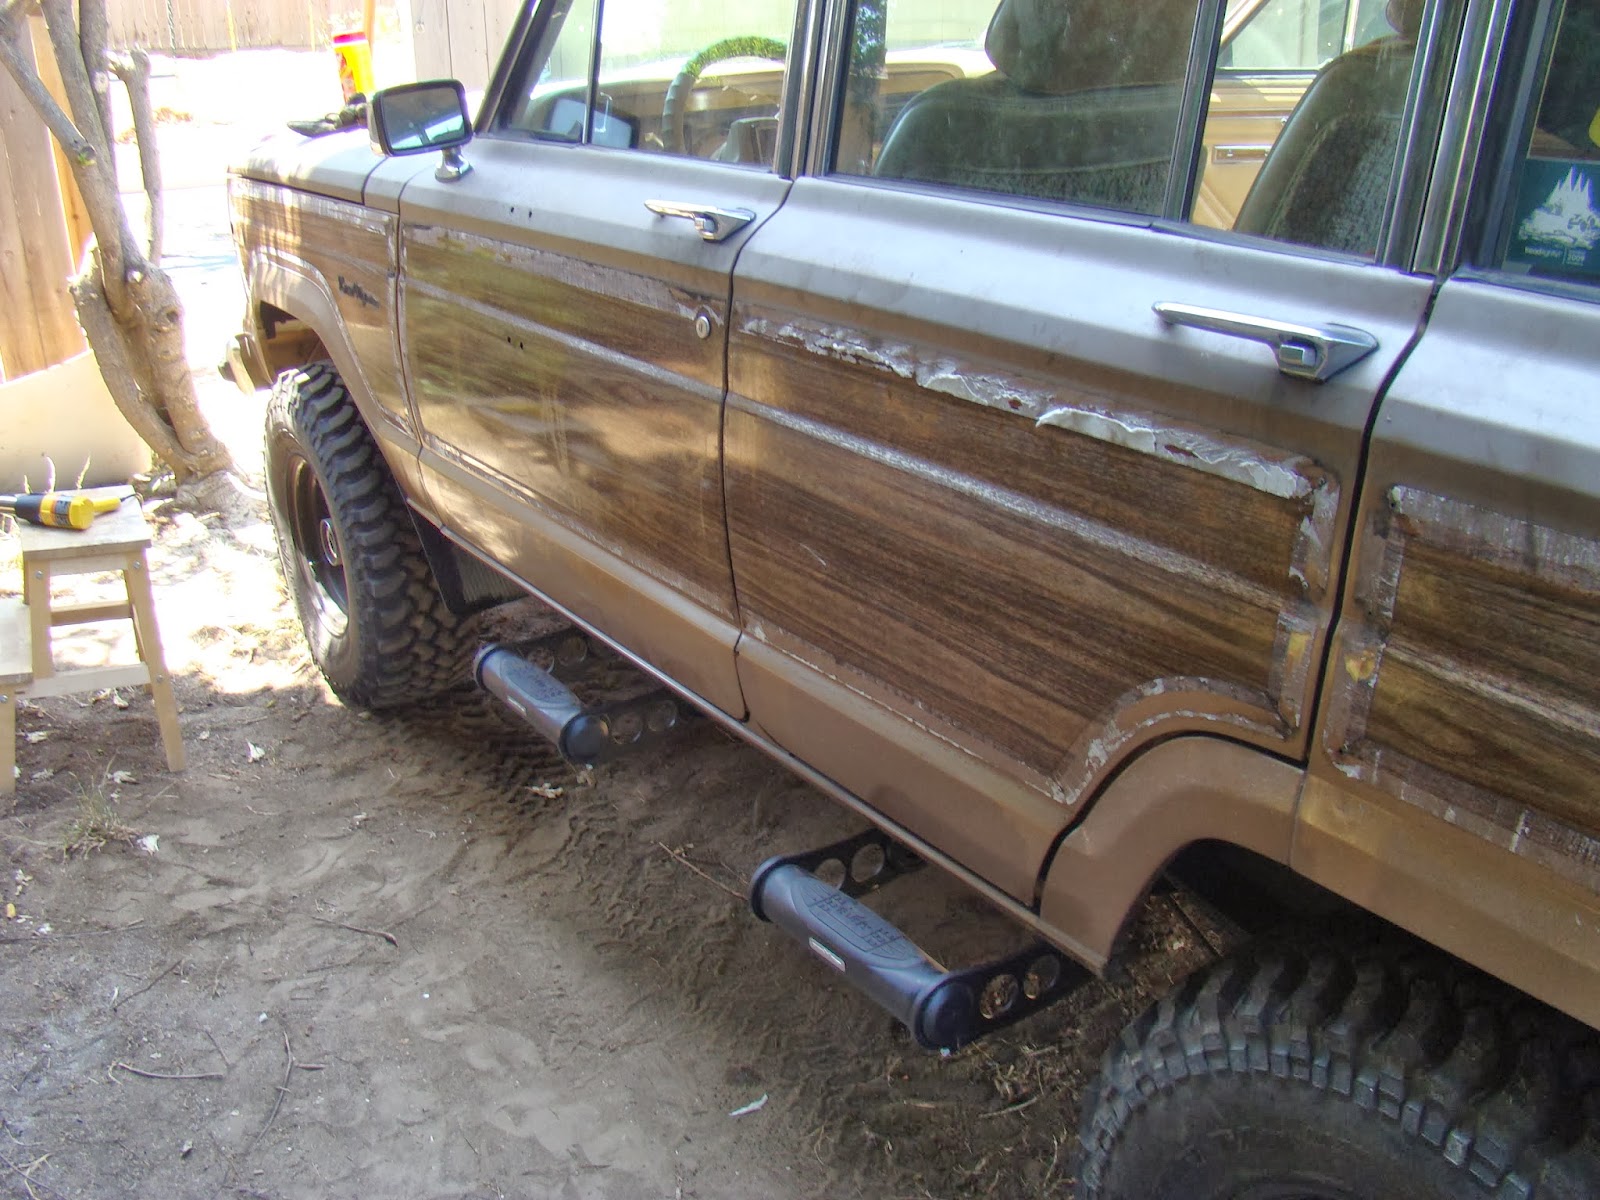
A cleaner shot with more of the gum backing removed.
I tried peeling off with just a spackle knife, but it was a bit too aggressive.  I turned to a heat gun and had more efficient success.  But it still took me HOURS.  The vinyl paneling was so shredded by age that it just came off in tiny pieces.
Looking good, I must say.
Not quite so good.  I cut into the bronze paint a lot more than I should have.  I'm an amateur, and it shows here.
Making progress.
 This is just all kinds of ugly.
Again, more progress.  The heat gun was so powerful, though, that I had to use welder's gloves to keep from getting burned.  I'd then do a little rubbing with the glove to get the scraps to ball up for somewhat easier removal
This is a good shot showing you how terribly shredded this stuff was.
Done.  Looking better every day.


Wednesday, May 29, 2013

Wheel spacers for that WT look

I've always wanted the wheels to stick out a bit more than they do, especially the rear tires.  I don't need the extra-wide stance of a WT Cherokee, though.  The solution, rather inexpensive (but not cheap), was to go with wheel spacers.  There are differing opinions on using them.  Some argue that Jeep owners should just go with less back-spacing on the rim itself while others say wheel spacers are essentially no different than backspacing as long as they are installed correctly.  The concern is that they move the tire (and its weight) farther out, which places a bit more strain on the outer wheel bearings.  I'm not inclined to worry too much given the mild to moderate wheeling I'll be doing, and that my tires are not 40" Mud Boggers.

Just put them on, drive for a ways, take the wheels off, tighten them back up (if needed), and go from there.  In about five hundred miles, I'll do it again and then not fret about them.

Stock Jeep lugs have 7/16"-20 threads, so get the right spacers or you'll be buying new lug nuts.  I got mine from Trail Sports Unlimited, Inc. in Colton, CA.  They are 1,5" spacers made from forged 6061 billet aluminum and come with Grade 8 lug studs and acorn nuts.  My contact at Trail Sports said not to use any Loctite on the threads.  That's another debatable point, but I'm sticking with my supplier's recommendation.
Here's a "before" shot:
After: