Due to some starting issues (too much time to crank over, in particular) , I've turned my attention to the ignition system. I've already replaced the starter motor, which helped. Now I've popped out the old ignition coil--which looked ancient--and threw in an Accel Super Stock coil. That didn't quite solve the problem, though it was a smart upgrade. So then came a new ignition module. Both of these were quick and easy, just a few screws and a couple electrical connections. The Jeep is starting better as a result.
Up next, spark plugs. I went with E3 Diamond Fire spark plugs, which are ridiculously expensive compared to standard Bosch plugs but promise a more complete combustion cycle for (albeit modestly) improved power and mileage. I'm hoping for just more consistent spark and somewhat smoother running engine, and the extra forty bucks to get that is worth it. I will gladly pay for peace of mind. Here's how the plugs went it.
Tuesday, February 24, 2009
Sunday, February 8, 2009
Body lift kit installation
I wanted a bit more clearance for my 32" BFG's (trying to squeeze as much tire in there as I can without rubbing or going to a 6" lift and getting tipsy). The easiest way, without making the Jeep even more top heavy, is to install a body lift kit. At the same time, I wanted to pop in some new polyurethane body bushings to absorb road vibrations and quiet the cabin a titch. All of this will get the body an inch or more up in the air and above the tires while keeping the weight (engine, tranny, frame rails) where they'd be for a four inch lift.
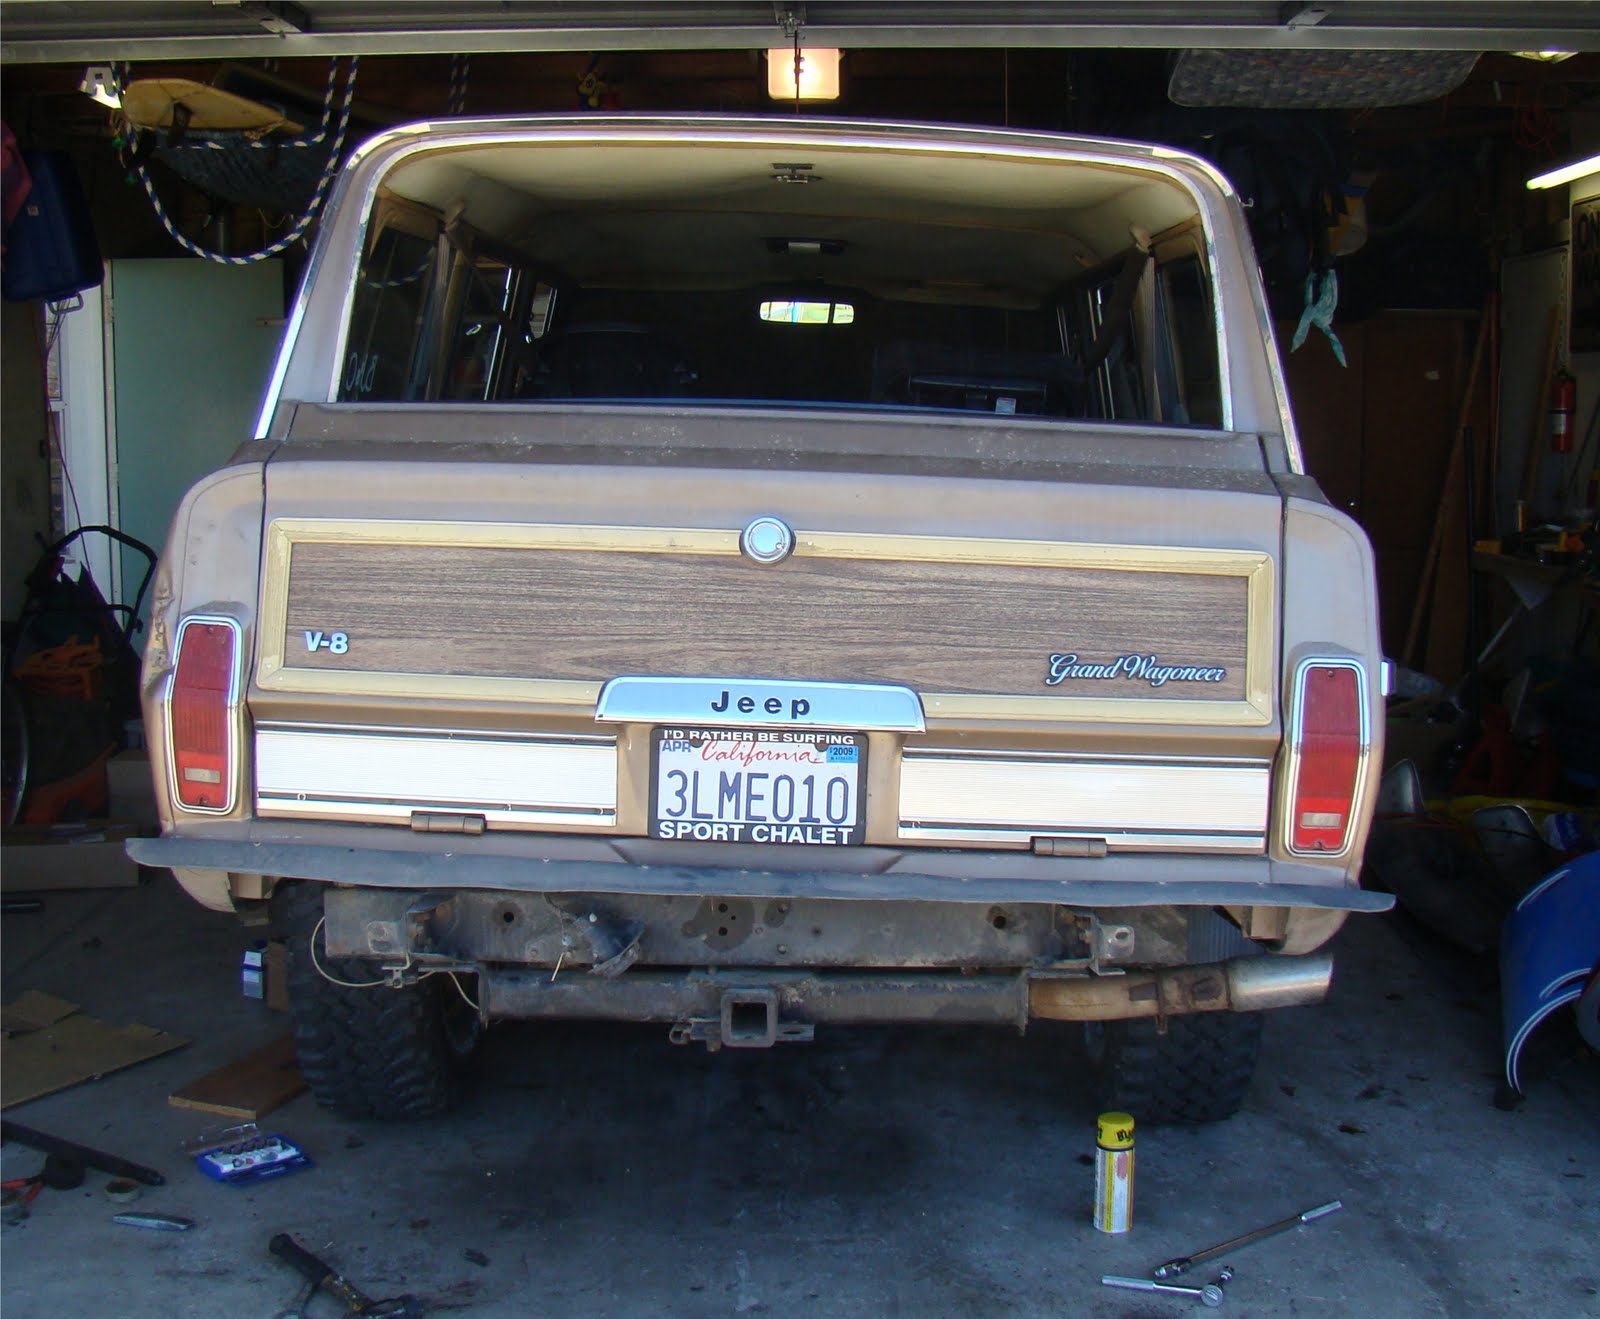
First I had to pop off the bumpers so that the front and rear sheet metal doesn't get caught on the upper lip of the bumpers themselves.


Here's a peek at the original condition of the body bushings before removal and replacement.

Side by side, the new and old bushings plus the "hockey puck" lifts.

Once the original bolts are taken off (no mean feat if you look at the rust on the sample in the pic above), it's a matter of jacking up the body off the frame. I used my Hi-Lift and some scrap oak for this. You need just about a half inch more clearance than you think to get the new body bushing's center metal tube in the alignment hole in the body itself.

Several of the holes needed to be expanded just a bit to allow the new bushings from BJ's to fit tightly. The only decent tool to use was a Dremel with a grinding stone attachment.

A shot of a new mount and body lift puck in place.
Here's a backside shot of the Jeep with the left bushings and lift pucks in and the right still on the old, crusty stock bushings.
Side by side comparison of the passenger's side rear fender clearance (L) and the driver's rear fender clearance with the new lift pucks and bushings (R). Obviously I've gained more than just the 1" over stock that the body lift was expected to give, thanks of course to the new, firm poly bushings.


Unfortunately, I don't have any pics of the completed body lift on the rig. Oh well.
Sunday, February 1, 2009
Hood Latch Fix
 When I bought the Jeep, it had some crinkled fenders from a front right and a back left collision. I wasn't looking for pretty, so that was no big deal. However, the front right crunch pushed the bottom of the front clip back a bit on the right, causing a few minor consequences that I've had to work around or accommodate. The main irritant was that the right interior spring hood latch would not fully release because it didn't quite align with the catch on the underside of the hood. In essence, the spring latch was angle slightly forward because of the impact on the front right fender. It would then push against the catch mechanism on the underside of the hood, turning a one person job into a two-person job. After pulling the hood release myself, I'd have a family member pull on the hood release by the driver's left knee as second time to pop it as I pulled it up from the forward lip. Not fun. Other times, when alone, I'd cram a large screwdriver or allen wrench into the gap between the hood and the grill to put tension on the latch and to force the hood up. Then I'd pull the release handle from inside the cab to pop it. Again, not fun.
My initial fix was to remove the right spring-loaded latch release itself so that only the left latch held the hood in place. [The left spring hood latch is shown in the lower half of the image at right: it's the black spring topped by a cone .] Since I wasn't driving this thing much yet, it was fine. But after a few short highway trips and the drive to El Mirage and back, I noticed a slight up and down vibration of the front right corner of the hood. I wasn't particularly worried that the hood would release and be folded back into the windshield by the force of the wind, but why take chances? Since I couldn't repair the front fender to get the spring latch to be in alignment, I would have to find an alternative to latching the hood securely.
 I decided to go with a pair of black YJ/TJ/Wrangler-style hood catches that are synonymous with the smaller softop Jeeps. I ordered a set from Rugged Ridge. Unfortunately, the fitment wasn't right. The wood grain trim on my Jeep's front fenders were in the way, and I was not in the mood to cut them only to find out later that these hood catches still wouldn't work.
  So I sent them back and bought a pair of black CJ-3/5 T-style hood latches from Quadratec. Happily, I was able to get these to work and look good in the process. Here's how I did it with my son, who rocks the tools.
After placing them in various spots along the front and sides of the hood, I settled on the section of the hood that raises up a little over an inch towards the center of the front grill. With the best helper in the world, I mocked up the placement of the latches and marked the holes with a pencil.
 Then I removed the grill (six bolts on top, three screws on bottom), drilling holes in the metal frame of the grill. I bolted in the latches with the supplied hardware. I then put the grill back on so that I could line up the hooks that the T-latches grab to hold the hood down. What I wanted to avoid was drilling into the hood itself until I had great confidence this would work. Once the latches were on the grill and the grill on the Jeep, I felt it was going to happen. After drilling, I used some longer black screws with blue Loctite and a pair of lock washers to hold the catch in place. Here's the final product. I'm quite pleased with how the project turned out. I know there are some FSJ people out there who will think it's blasphemy to put "little Jeep" parts on a full-size Jeep, but so it goes.

Subscribe to:
Comments (Atom)